Codeberg builds on Woodpecker CI in K8s
I moved all my repositories to Codeberg and I am very happy with it. While CI/CD and heavy build jobs cannot be lifted by Codeberg for all repositories hosted, the way to go is to outsource jobs into your own CI engine and onto your own hardware.
Codeberg is great! But it lacks substatial funding compared to the billions, that have been invested in Github. Therefore some services might not be as free as in Github - you must put some work into making it running smooth for yourself. While I run builds for this website on a Codeberg runner, I thought about moving these build off of Codeberg into my own CI/CD engine.
While there is a lot of guides around setting up a runner for Codeberg, which might be sufficient for some people, the recommendation from Codeberg itself is to host your own Woodpecker instance.
Resource usage must be reasonable for the intended use-case. CI requires substantial computing resources (cloning the repo and pulling the image, installing required tools, building and throwing everything away). Therefore, please consider twice how to create a good balance between ensuring code quality for your project and resource usage.
This gives you far more freedom in terms of configurability. You can run build for different platform, very work- or compute-intense builds - all on your own hardware with Codeber (and Forgejo) as your forge in the background.
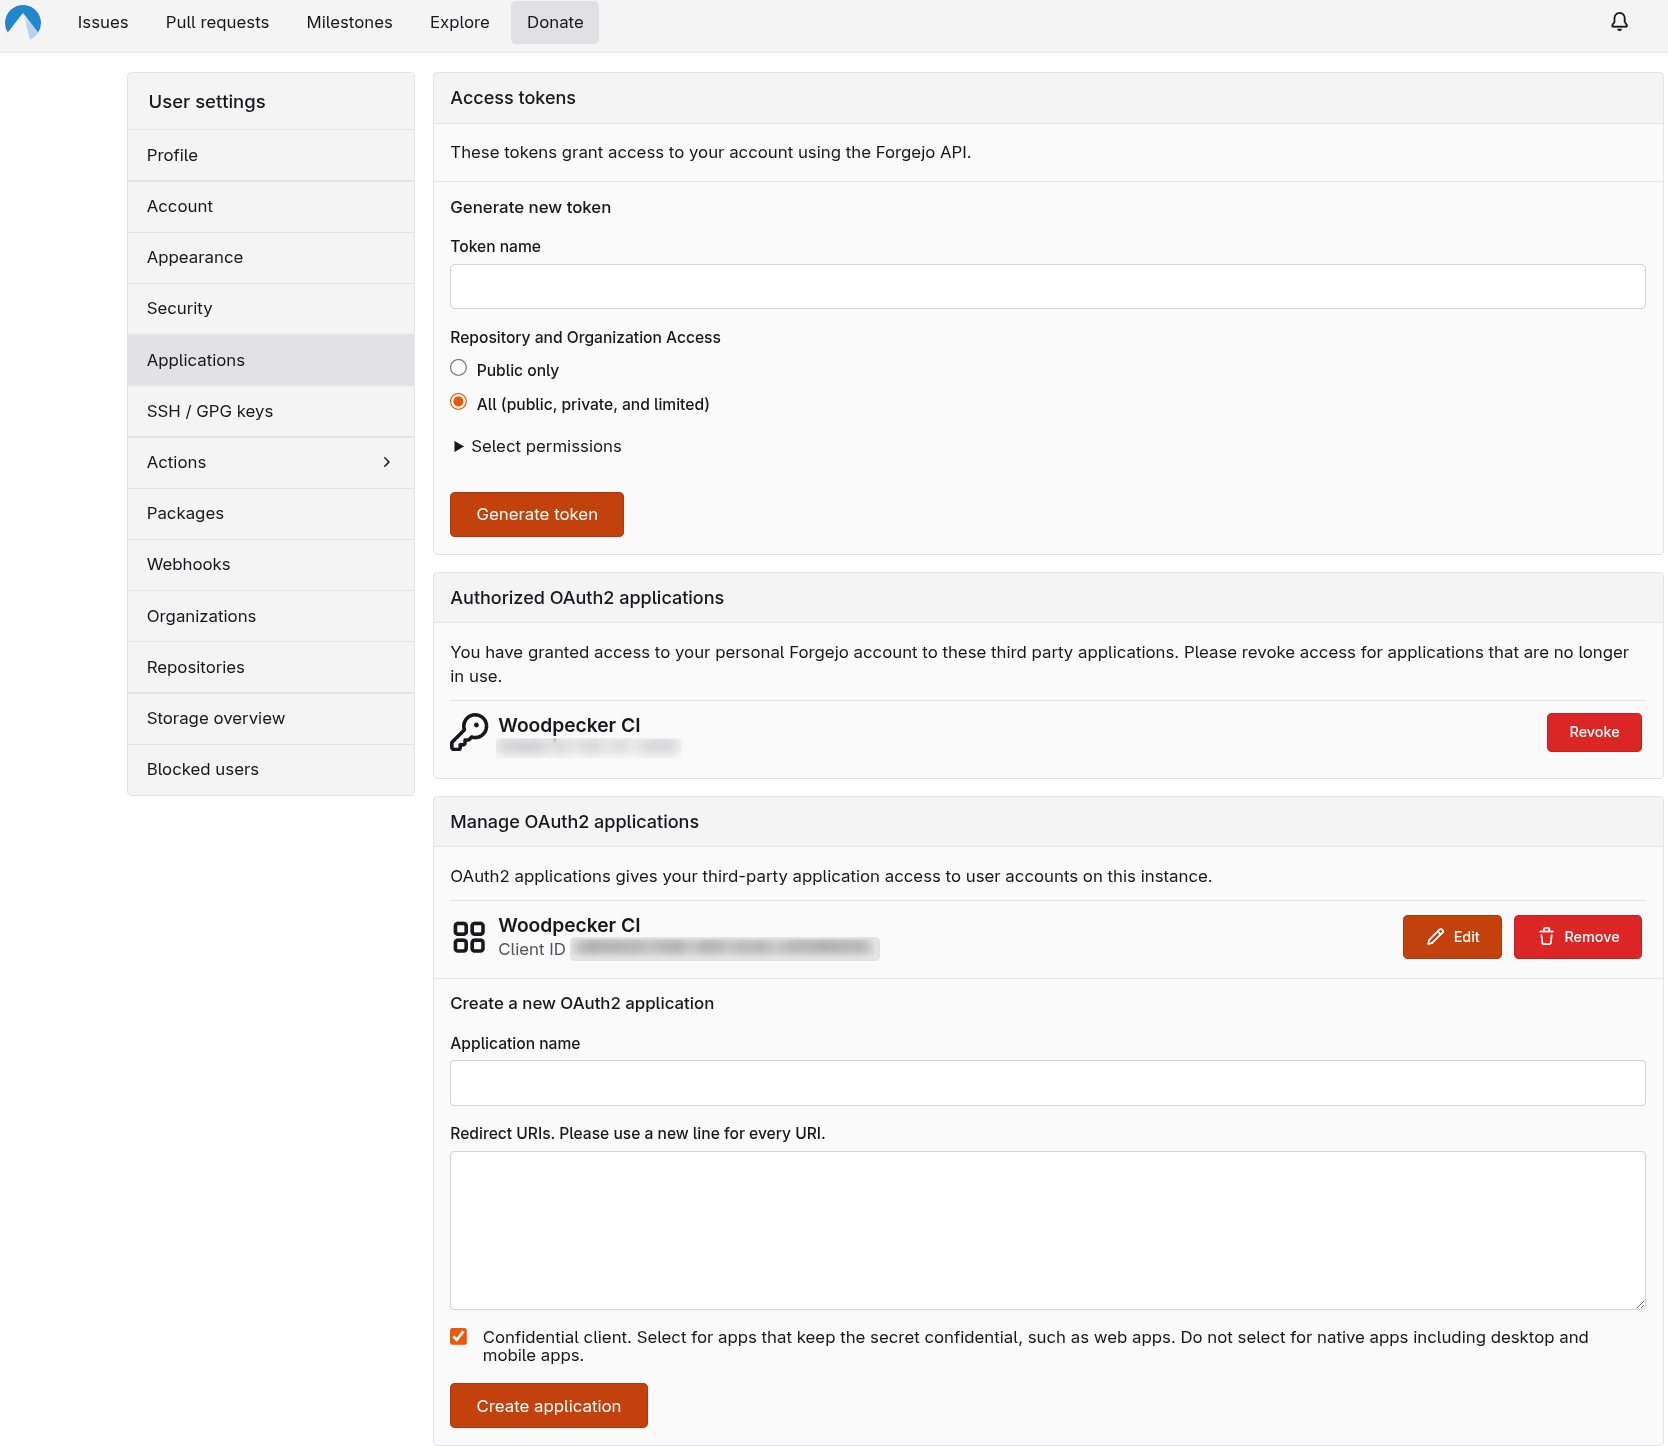
Create an OAuth2 application
Woodpecker CI does handle any user accounts itself, instead it uses the connected forge to supply the user information. This is done using OAuth2 authentication. To make this work, a new OAuth2 application needs to be created in Codeberg.
Go to your user Settings > Applications and create a new one. While the name can be anything, the Redirect URIs
need to include your woodpecker instance - https://[YOUR_DOMAIN]/authorize. The ending /authorize is needed.
After hitting save, note down the Client ID and Client Secret for the new app. We need these values for the
Woodpecker configuration.
Installation Woodpecker with Helm
Before starting with the Woodpecker installation, we need to create a secret holding our OAuth2 credentials.
| |
The WOODPECKER_AGENT_SECRET can easily be generated with openssl rand -hex 32.
Woodpecker provides a handy Helm chart for the installation. Some important environment variables I want to highlight:
| |
WOODPECKER_OPEN: I left this totrueas otherwise, when loggin in newly, I got the error “Registraton is closed”.WOODPECKER_MAX_WORKFLOWS: I set this two 2 parallel workflows per agent.
The important *_FORGEJO environment variables can be checked in the official Woodpecker docs.
After installing your instance you can login with your Codeberg credentials, username and password. It will then automatically fetch your repositories and let you select for which repositories you want to run builds.
Sample Woodpecker workflow
Analogous to .github and .forgejo, configuration files for Woodpecker can either be in a
.woodpeckerfolder plus<workflow_name>.yamlor.woodpecker.yamlfile directly.
I prefer the first one with having a separate folder. For my blog I created a mini test workflow in the file .woodpecker/tests.yaml:
| |

